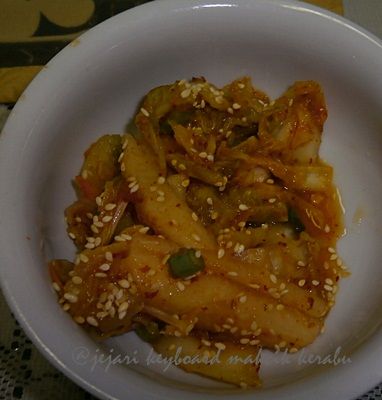
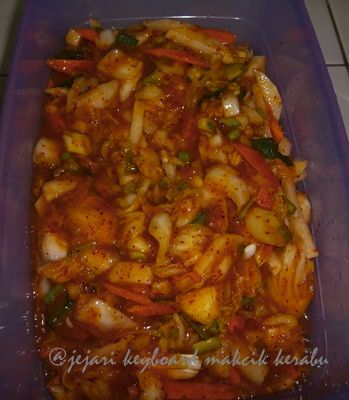
kimchi yang baru di buat belum serap lagi. tak berapa merah sebab makcik guna chili kering yang pedas. next time kena guna chili kering yang tidak pedas. kalau nak makan taburkan dulu dengan bijan yang telah di goreng tanpa minyak .
Hari ini marilah kita belajar membuat kimchi. tak susah rupanya tetapi memerlukan kesabaran yang tinggi. kalau boleh time kita nak buat tu, jangan lah ada agenda lain. my first time kimchi telah di cemari dengan kedatangan geng yang melawat makcik ke rumah. almaklumlah kan jiran bertanya khabar sambil melepak..at the end banyak masa terbengkalai dengan lawatan yang tidak di duga itu.

first makcik nak bercerita tentang cili . kerana agak sukar nak dapat kan chili flake itu, makcik dengan senang hati mengering kan cili besar itu didalam oven dengan menggunakan suhu yang paling rendah supaya chili kita tidak hangus tetapi dek kerana terlalu menjaga adab orang berkunjung kita berbahasa gitu chili makcik pon hangus terbakar..burn bebehh..
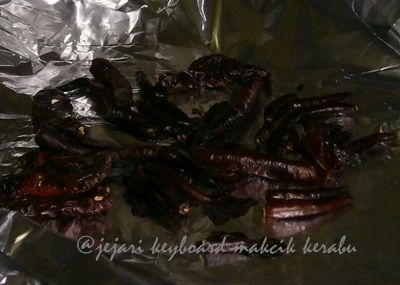
ini lah hasil nya...nak nanges kan.. udah lah chili berharga 28 ringgit sekilo. ok lah tak per..makcik pujuk hati sendiri, alternatif lain makcik kelam kabut pergi supermarket yang dah nak tutup untuk beli chili kering. makcik buang biji chili kering itu kemudian cuci bersih dan masukkan kedalam oven. kali ini makcik jaga betul suhu nya supaya tak terleka. kiranya banyak masa nak buat chili flakes sendiri, so makcik nasihat kan jika nak buat kimchi sendiri buat dulu chili flakes nya sehari sebelum operasi kimchi

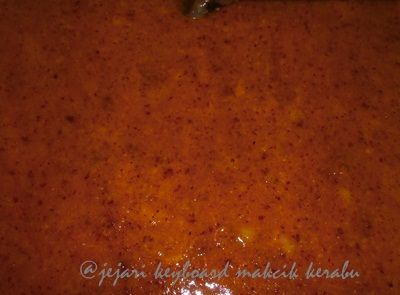
adunan sauce kimchi yang kita masukkan bawang yang sudah dblend
camni lah rupanya
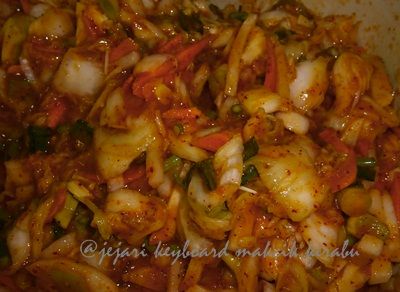
dah siap digaul camni lah rupernya kimchi kita. wahhh makcik bangga sungguh sebab makcik boleh buat kimchi. kimchi nih nak serap kan rasa nya biarkan 2/3 hari baru di makan tapi makcik lepas gaul jer dah ngap didalam mulut. 1st time tu tak serasi sangat di tekak makcik. masuk hari ketiga rasa nya udah well blend. sedap lah makan nasi ngan kimchi begitu saja . Jangan lupa tabur bijan.
separuh tu makcik simpan didalam bekas untuk disimpan didalam peti sejuk
separuh plak masukkan kedalam botol kaca dan biarkan semalaman untuk 'memasamkan' kimchi
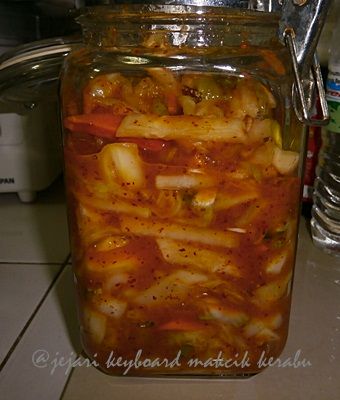
kita. yang macam ini kita boleh jer simpan didalam peti sejuk dan kalau nak makan just buka jer balang dari peti sejuk. yang didalam container tu boleh simpan lama sikit. So readers..cuba lah buat, anda akan merasa bangga terhadap diri anda sendiri
Ingredients:
- 1 ½ cup of Kosher salt
- ½ cup sweet rice flour, ¼ cup sugar, water
- 4 cups of hot pepper flakes
- 1 cup fish sauce,
- 1 medium sized onion, minced (about 1 cup)
- 1 cup of fresh garlic, minced
- 1 tbs minced ginger
- 7 stalks of green onions, chopped diagnolly
- 2 cups worth Buchu (Asian chives), chopped,
- 2 cups of matchstick-cut radish
- fresh oysters (optional)
Cut the cabbages in half, and then slit each half through the core, but not through the rest of the leaves.
- Soak each piece in cold water and sprinkle salt over
the each leaf , and then set it aside for 2 hours.
*tip: the stems should get more salt than the leaves - Peel 2 kg of Korean radishes and cut them into 1 inch
cubes. Do this by cutting them into several disks, and then cutting
horizontally, and then vertically. Put them in a big bowl and sprinkle
them with ¼ cup of salt. Then set these aside, too.
- 2 hours later, turn the pieces of cabbage over so they
get salted evenly. Turn the radishes as well.
- Another 2 hours later, you will see the cabbage look
softer than before, and it should have shrunk.
*the total salting process will take 4 hours - Rinse the salted cabbage and radish with cold water 3
times
Making Kimchi paste:
Make porridge
Put ½ cup of sweet rice flour and 3 cups of water into
a skillet and mix them up. Then cook over medium-high heat, stirring
constantly.
- when you see some bubbles, pour 1/4 cup of sugar into
the porridge and stir one more minute. Then cool it down.
- Place the cold porridge into a big bowl. Now you will
add all your ingredients one by one.
- Add fish sauce, hot pepper flakes, crushed garlic,
ginger, and onion
*tip: it’s much easier to use a food processor. - Add green onions, Asian chives, and radish.
- Add 2 cups of frozen oysters, but this is optional. (I
found out lots of people can’t eat them.)
- Mix all ingredients well.
Are you ready to spread our paste on the leaves and make your kaktugi?
* I recommend you wear rubber gloves so that you don’t irritate your skin.
Put it into an air- tight sealed plastic container or
glass jar.
Mix your leftover paste with your radish cubes (this is kaktugi).Check out my kakdugi (cubed radish kimchi) recipe if you want to make only kakdugi.
Mix your leftover paste with your radish cubes (this is kaktugi).Check out my kakdugi (cubed radish kimchi) recipe if you want to make only kakdugi.
You can eat it fresh right after
making or wait until it’s fermented. Put the Kimchi container at room
temperature for 1 or 2 days and keep it in the refrigerator.
How do you know it’s fermented or
not?One or 2 days after, open the lid of the Kimchi
container. You may see some bubbles with lots of liquids, or maybe sour smells.
That means it’s already being fermented
cubalah...tak rugi mencuba. simple dan senang

No comments:
Post a Comment